# Sell products on your web page
In this guide, we will show you how to sell products (one-time or recurrent) on your Grapedrop website by using the Payment Button block.
To start using the Payment Button, drag the block from the Extra category (Basic Block library) into your canvas.
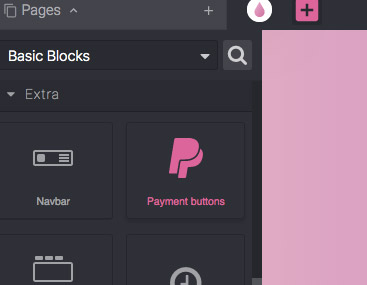
Currently, the Payment Button features support for PayPal, Stripe, and Gumroad.
Below you will find an in-depth guide on using each provider.
# Selling with PayPal
WARNING
To sell with PayPal, you must have a PayPal Business account. If you do not have one, you can create one here.
Once you have dropped the block in the canvas and selected PayPal as your payment provider, you should be able to see the button alongside the available settings.
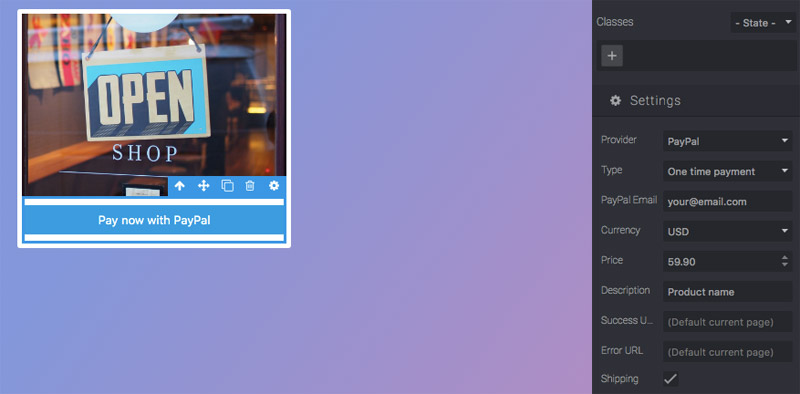
PayPal Email, Currency, Price and Description are the most important areas to fill out. This is all you need to do for PayPal. However, the other options are useful if you want to customize the checkout experience. Once the page is published, your users will be able to pay for your product by using their PayPal account.
WARNING
Before publishing your page, we highly recommend trying the button in the preview and making sure everything is working as expected.
# Selling with Stripe
WARNING
To sell with Stripe, you must have a valid Stripe account. If you do not have one, you can create one here
You will have to start with a test account and, before going live, activate it here. You can still use the test account with Grapedrop and switch to the live one once you are ready to sell.
Stripe allows you to sell one-time products and recurring subscriptions. But before using Stripe as your payment provider, you must activate Stripe Checkout and create your products directly from their dashboard. You can follow these simple steps to enable you to sell your first product on Stripe:
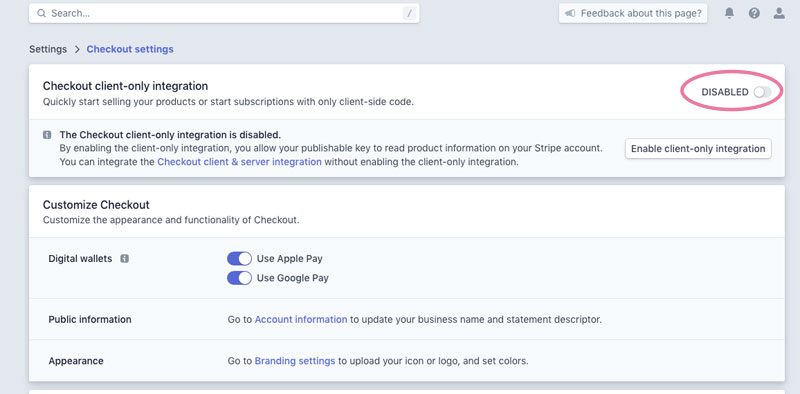
Log in to your Stripe account and enable Stripe Checkout
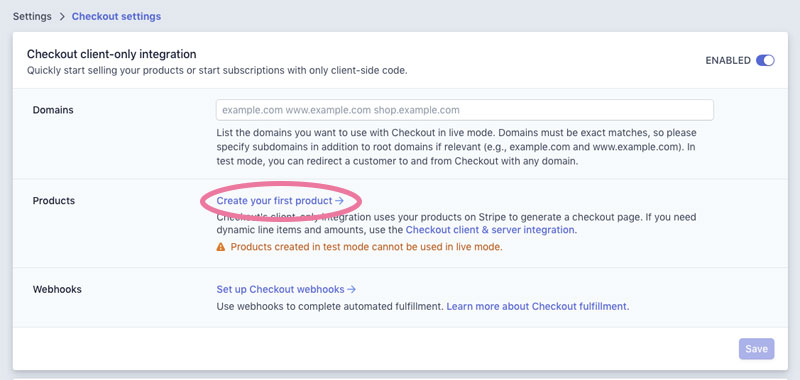
As suggested by Stripe, you can leave the Domains field empty for now and complete it once you are ready to use live mode. Start by clicking on product creation, which will redirect you to the Products page.
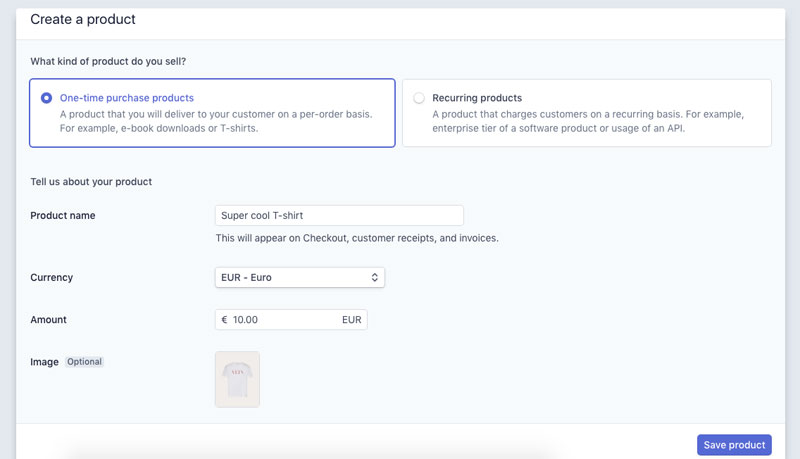
 Once you start with a new product, you will be able to choose between One-time purchases and Recurring products. In our example, we will create a simple one-time purchase, but the process would be almost the same for a recurring one.
Once you create the product, you can copy its SKU code and paste it in the Grapedrop Payment Button Product SKU setting ('Stripe provider' should be selected).


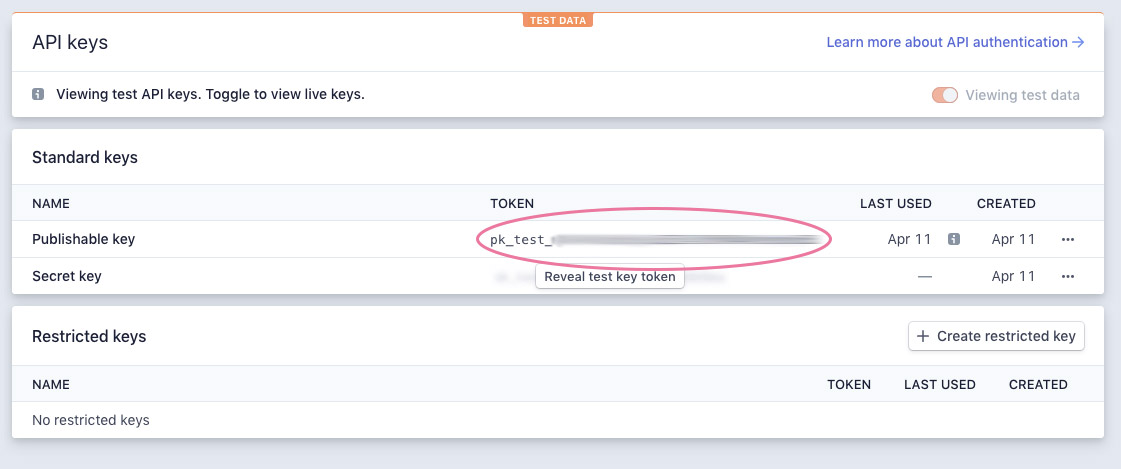
If you create a recurring product instead of the SKU, you will see the plan ID (plan_ABC...). You can use it in the same Product SKU setting.The last step is retrieving the Stripe Publishable key from your API keys page and pasting it in the Stripe Key setting.

Now, if you go to the preview of your page, you will be able to see the Stripe Checkout page once you click the payment button.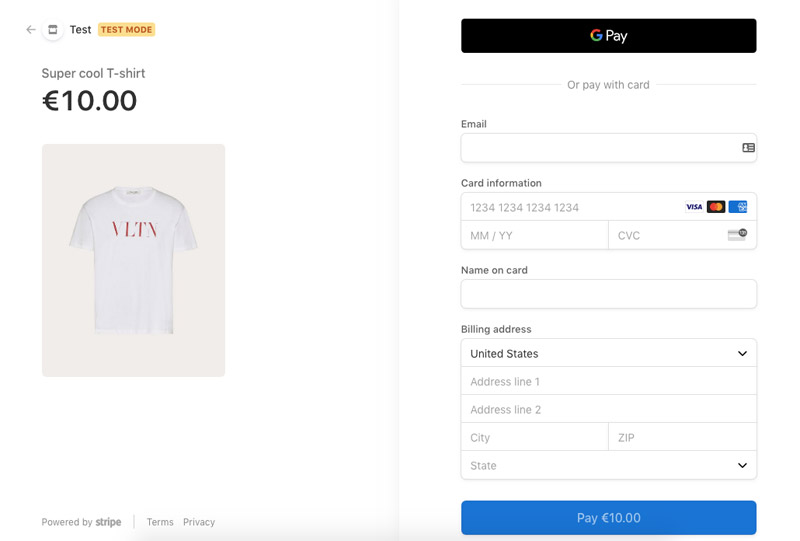
If you want to test the Checkout page, you can use Test card numbers from Stripe.
WARNING
Before publishing your page, remember to activate your Stripe account and switch all the codes (Stripe Key and Product SKU) to their live version counterpart.
# Selling with Gumroad
WARNING
To sell with Gumroad, you should have a valid Gumroad account. If you do not have one, you can create it here
Gumroad allows you to sell one-time products and recurrent subscriptions. All you need to do is to create your products from the Gumroad Products page.

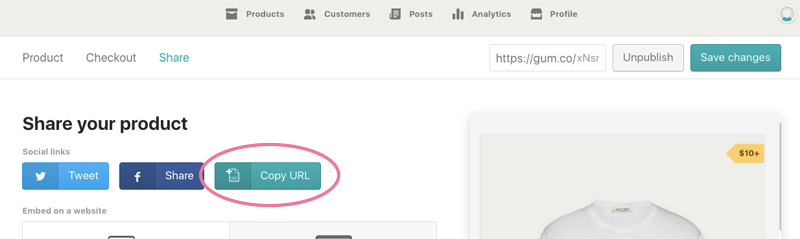
Once the product is published, copy the link (available at the end of the creation or found following these instructions) and paste it in the Grapedrop Payment Button Product setting ('Gumroad provider' should be selected).

That's it! Now, when a user clicks on the payment button from your page, they will see a pop-up of your product ready to sell.